Showing posts with label FoodNetwork. Show all posts

Friday, February 4, 2011

Comfort in a bowl...

If I haven't mentioned...I'll mention it again...its FREEZING here.  Its not as bad as some places in the country, but gosh darn it...its cold for us (our winters are mild from the mid 30s to the 50s in temp).  So in order to keep warm I find I am cooking more...not sure if its the need to have the stove and oven going at all times or the need to eat something hot and melty.  The best of both worlds can be found in making chili and corn bread.  

In trying to figure out what to do for Sunday dinner I became convinced that something with a dumpling had to be made.   Chicken stew with biscuit dumplings on top??? No...there is no cheese in this.  Do I just make chili??? No...there is no dumpling in this...unless...wheels in head are turning, head is starting to hurt, idea forming...I could top it with a cornbread dumpling...genius had just occurred.  Then like divine intervention, an episode of Nigella Feasts  came on and she was making Chili con Carne w/ Cornbread (its like she was reading my mind).  I now had an idea of what to top my chili with...I will top it with cornbread and cheese, Nigella is a genius.  
 
I set about looking for the ingredients in the kitchen; I unfortunately was missing the proper amount of corn meal for her recipe in regards to cornbread...so I improvised.  Using a Trader Joe's cornbread mix and substituting milk for buttermilk, I prepared the mix as indicated and spread over the top of the chili I had prepared.

Chili
For printable recipe, please click here

2 lbs  Ground beef (85/15 is preferable)
2-4+ Tbs  Red Chili Powder (season to taste)
2+ tsp  Onion Powder  (season to taste)
2+ tsp  Garlic Powder (season to taste)
Salt (season to taste)
1+ tsp  Red Chili Flake  (season to taste)
3+ tsp  Cumin (season to taste)
About 1 Tbs  Flour
About 2+ cups Water 

Using a large pot or dutch oven over medium heat, brown the ground beef.  Season with the onion powder, garlic powder, salt, cumin, red chili powder and red chili flake  Once the meet is browned, add the flour to the meat, stir the meat around to be sure the flour is coating it (***be careful with the flour, use to much and it will taste pasty, use to little and the chili won't be thick).  Add the water and continue to heat through adding spices as you need them.  Serve warm with desired condiments (cheese, sour cream, cornbread, fritos, etc. etc. etc.).
 
***NOTE:  The seasonings are not an exact science, this is only a guideline to start from.  Chili powder varies greatly in heat and in taste.  I use the hot stuff that comes in a bag that is usually down the Mexican food isle of your grocery store (here, its not an isle...its a whole store...another reason I LOVE NM).  My mother uses Eagle Brand Chili powder.  I have used McCormick chili powder in the past (its what I could get at the time); it tends to be too bitter for my taste.   You can add oregano to the chili if you like;  I don't for my own, but my mother and sister do add copious amounts of oregano to theirs.  I tend to be heavier handed with my cumin...but that's again up to what you like.  Keep tasting it til its good for you.  This recipe is just a guideline for you to create something great for yourself, cook responsibly.   


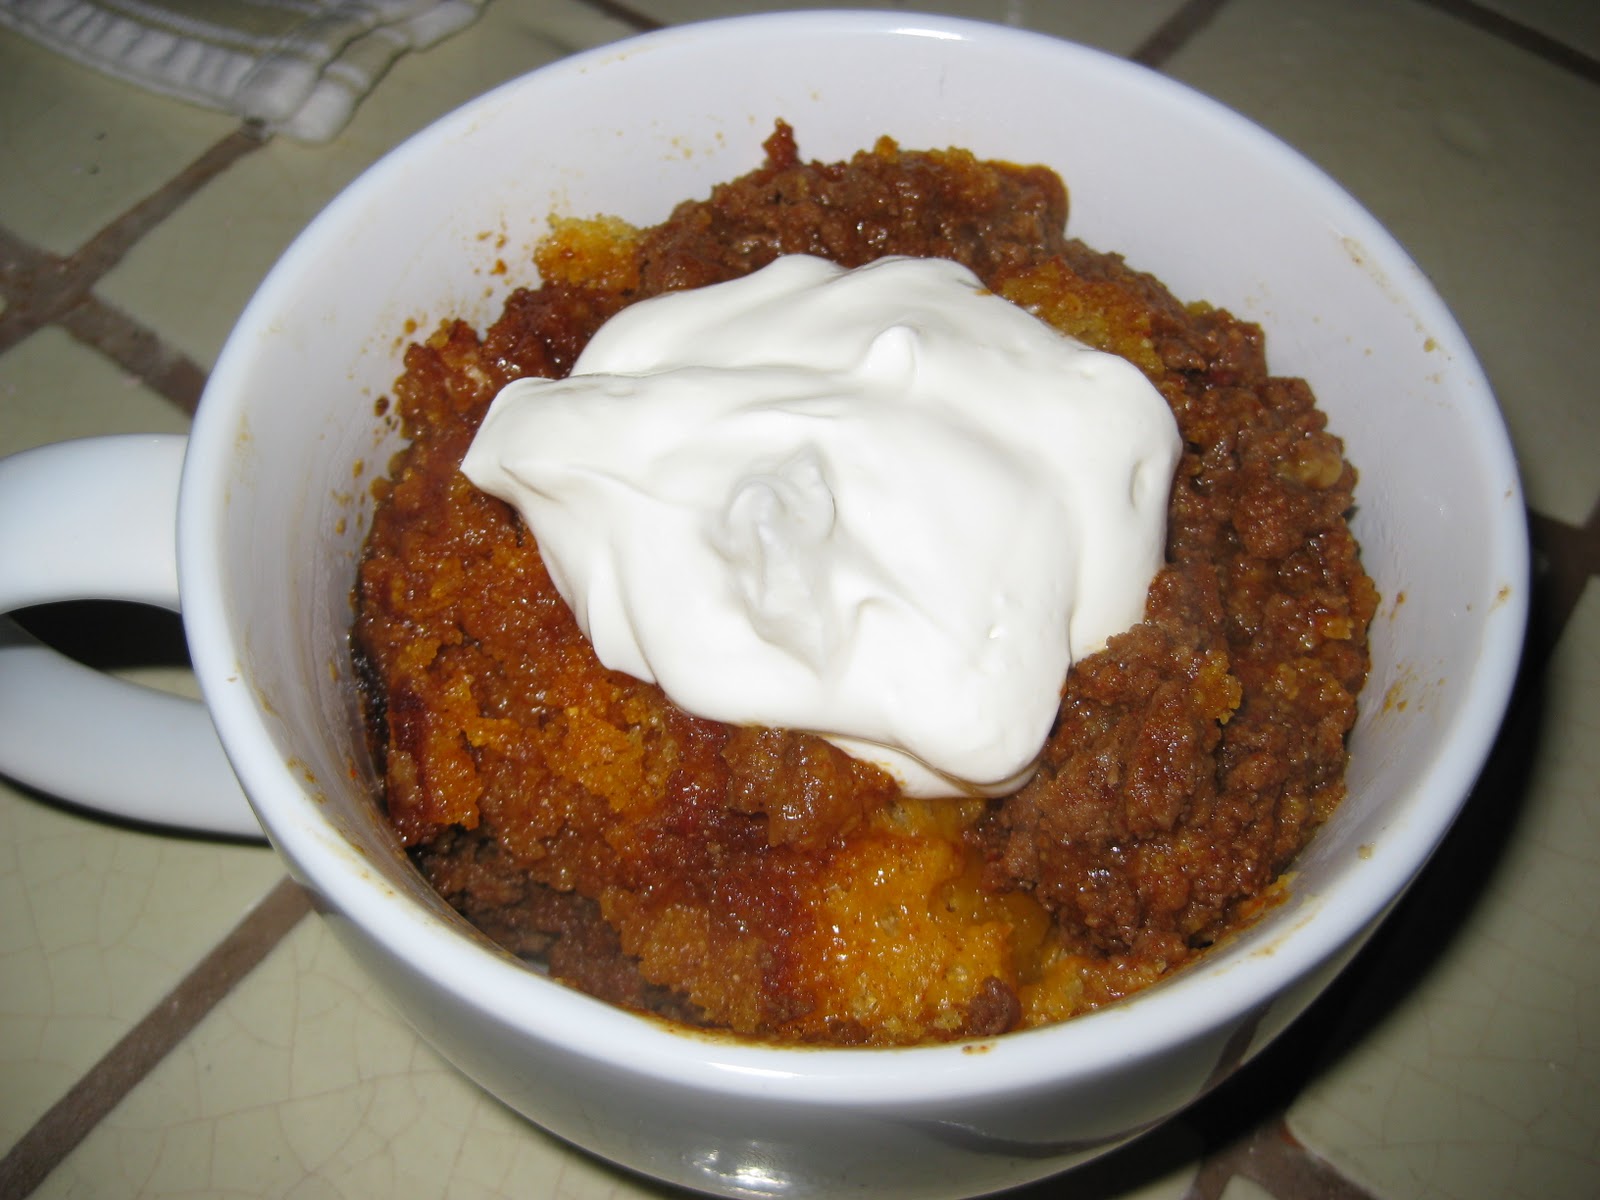
After getting the chili stirred up, topped with cornbread batter and that topped with cheese; I popped the dutch oven in the oven on 400° for 25 min.  What came out of the oven was perfect cornbread topped chili as you can see below.  It warmed up the evening perfectly.

Enjoy the foods of your labor.  :-)
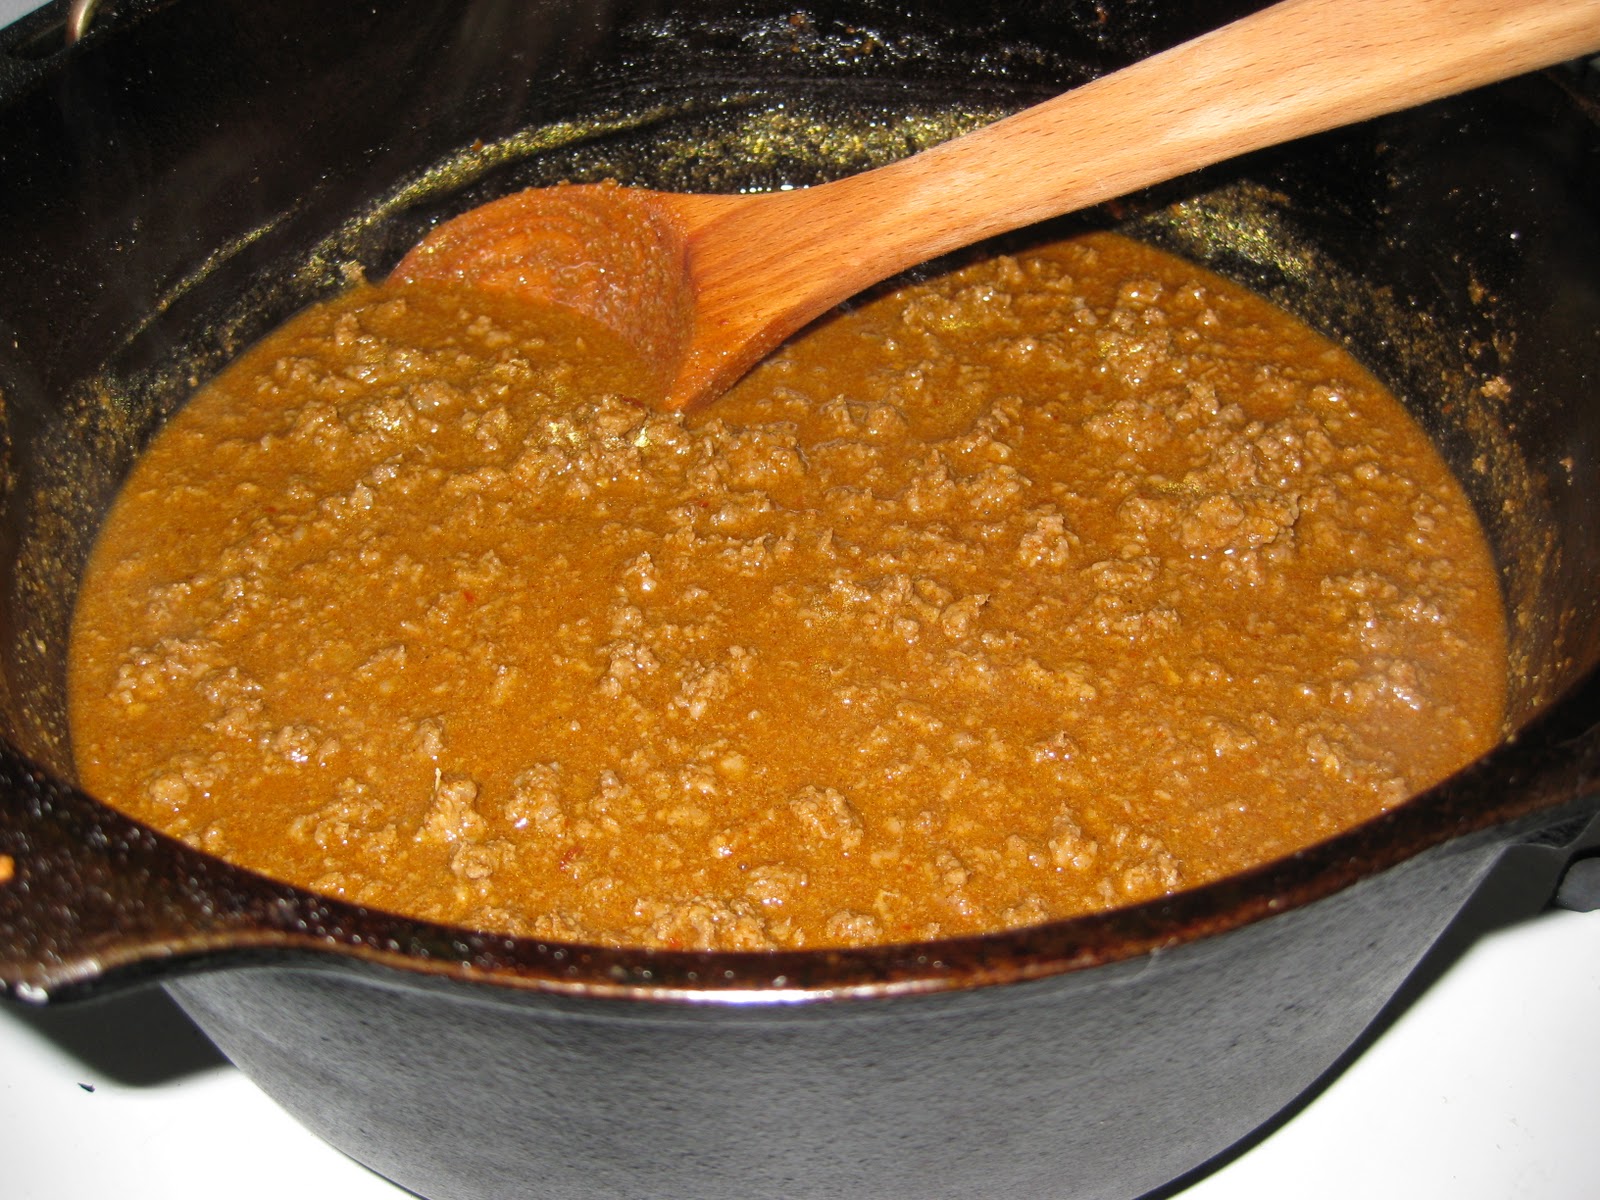

Chili before cornbread


Chili with Cornbread and Cheese
Getting ready to eat...I topped this off with a dollop of sour cream


Thursday, May 20, 2010

Cinco de Mayo was when???

Ok...you're right, I have been a bad blogger. I meant to get this up before I went out of town, then I meant to do it while I was in San Antonio, then...well...yeah, I know. So here it is, better late than never.

We had a small get together at work a few weeks ago, to include a salsa contest for "Cinco de Mayo". I thought to myself "What would Brian Boitano make...", he would make SALSA!!!! Not just any salsa, he would make an awesome salsa, so that's what I did, minus a stunt chopper for the onions (I wonder how much he
pays his stunt chopper to chop his onions on the show???).

I am now going to give you the secret family recipe for the ultimate chili pequin salsa
:

Chili Pequin Salsa, a family recipe
For printable recipe click here
1 large can diced tomatoes in juice
4-6 cloves of garlic, minced
1 medium onion, chopped
about 2 Tbls Mexican oregano, ground up

2 to 4+ tsp crushed chili pequin (you can get them already crushed in the
Mexican spice section of your grocer)
onion pow
der (to taste)
garlic powder (to taste)

salt (to taste)

Mix all ingredients in a large bowl. Put in a blender and pulse a few times to mix
everything together. Pour into your serving bowl and enjoy.


Personally, this is one of the easiest recipes to make and usually goes over really well at parties, at least at my sister's parties. I think Brian Boitano would be proud (and if you don't watch his show on FoodNetwork on Sundays, YOU ARE MISSING OUT!)


Friday, April 23, 2010

Kitchen trippin...

Last weekend I was visiting my parents down in Cruces and I informed my mother about my new blog venture. I tried to tell her about it, the concept, even showed her my first entry. Actually, I am not sure if she read it or just became mesmerized by the pictures of the French Toast Bake...if a picture is a thousand words, I guess she didn't need to read any further. I was informed that I would be making this for her and dad the next morning.

Its is never easy cooking in a kitchen that is not your own...I may have baked a pumpkin pie or 2 since I have entered adulthood in my parents kitchen, but that is not real baking/cooking (which is making anything that involves more than: 2 bowls, 3 types measuring spoons/cups , 2 stirring spoon, a hand mixer...if I need to get out my standing mixer, w
atch out we're gettin serious now :-) ). Go ahead and ask my boyfriend, I try to do proper "mise en place", which means I will have dirtied up every small bowl in my kitchen, which he diligently washes and dries for me (I know, he's a keeper)...so, needles to say I tend to be a bit of a high maintenance cook. So its even more nerve racking trying to make something successfully in someone else's kitchen. The only thing I had going for the success of breakfast the next morning is the fact that the French Toast Bake i make is a FOOL PROOF recipe (which is the best kind of recipe to have up your sleeve).

What makes this recipe fool proof is the simplicity of its ingredients and the correct measure of the liquids. I have had a hard tim
e with French Toast Bakes and Bread Puddings in the past; too many eggs and you have an omelet, too much half n half and it never bakes up right, too little custard and its dry, too much custard and its just soggy and gross. So I searched and searched on FoodNetwork.com for a Bread Pudding recipe for this past Thanksgiving and hit the jack pot with Aaron McCargo Jr.'s (aka Big Daddy) "Apple and Cranberry Bread Pudding". His liquid to egg ratio was PERFECT for both the tasty breakfast treat and the decadent dessert we love to eat topped with ice cream and caramel sauce. I made a few of my own changes to the recipe that I thought it needed, but hey that's what makes us a star in our own kitchen.

Here is the basic French Toast Bake/Bread Pudding Recipe:
For printable recipe, please click here
For the bread:
1 loaf Challah or
1 pkg Brioche Buns from Trader Joes (they are cheaper than buying a loaf of brioche) or
1 baguette (preferably a day old)

For the custard:
6 eggs
2 c heavy whipping cream or half n half or eggnog (eggnog is perfect for a richer taste)
1 tsp salt
1/2 to 1 c dark brown sugar
1 to 2 tsp nutmeg
1 to 2 tsp cinnamon

1 tsp pumpkin pie spice

Preheat your oven to 350 deg. Grease a 9x13 cake pan with butter or bacon grease. Cube the bread in about 1 in. pieces (for bread pudding take the crust off first before doing this). Place the bread cubes in the cake pan and set off to the side to let them dry out a bit, they will absorb the custard better if they are a little stale . In another bowl w
hisk together the eggs and the heavy cream. Whisk in the remaining ingredients. Pour over the bread, be sure to carefully spoon the custard over the cubes so the bread is well coated. Put in the oven for 40 min or until it springs back to the touch (which should be 40 min.).

So, after 2 hours of navigating my way through a kitchen that was not my own (usually this takes, maybe 1 hour to an hour and a half to make, depending on your topping), I recreated the breakfast dish that you saw posted below and to the left. I know my mom liked it (since she commented on it in the previous post) and dad thought it was "pretty good...", which anything coming from him would mean a success.

Cook for the pleasure, cook for the glory, cook like there is no tomorrow.
*(ok...I am working on an ending catch phrase, we'll see which one sticks ;-) )

Monday, April 19, 2010

BACON!!! Bacon Bacon Bacon!

Here it goes...my first blog entry. This blog is about me...my cooking...and how FoodNetwork inspires me to be the chef-leberty that I am (in my mind). My TV is on the channel, not quite 24/7, but its close. I watch my favorite shows and then get a wild hair to make the thing that is on (which means a trip to Trader Joes and who doesn't love that) or trying to make something inspired by said show in less than 30 minutes...which is not possible in a kitchen the size of a small walkin closet. So basically, this is a blog about the common cook striving for FoodNetwork greatness in not so perfect kitchen surroundings...did I mention I can just barely fit one cookie sheet in my oven.

Well, for this weeks inspiration...I tune
d into "The Best Thing I Ever Ate...With Bacon". Since you do not know me yet, you should know I LOVE bacon. BACON!!! It makes me smile just typing out the word. The smell of bacon on the weekends wafting through my apartment is better than any room freshener. Anywho, this show featured bacon and what it could do for food when added in unique ways, like an onion marmalade for a burger filled with BACON. So I decided that I too should use bacon as more than just a side and was inspired to create a

Candied Pecan and Bacon Topping

recipe to put over my french toast bake.


Candied Pecan and Bacon Topping
For printable recipe, click here
2 cups chopped pecans
6 strips of bacon, be sure to cut off extra fat
about a cup of brown sugar
about 2 Tbls salted butter

Using your kitchen shears, cut up the 6 strips of bacon into about h
alf inch chunks into a cast iron skillet on medium heat. Get the bacon crispy, but don't burn it (trust me this is not an easy task when you are doing 5 things at once). Put in a paper plate with paper towel to absorb grease. Pour excess grease from the skillet into your bacon grease container (yes...save your bacon grease for strategic cooking purposes, I didn't know bacon grease WASN'T suppose to be in vegetables until I was 15) but be sure that you have enough grease left in the pain that it just coats the skillet and it looks shiny, but not soaked. Put the pecans in the skillet and brown them over medium heat, stirring occasionally. Once the pecans get shiny and are starting to brown slightly, throw the butter in the skillet with the pecans. When the butter has melted, stir in the brown sugar. Last, throw the bacon back in the skillet and saute for a few minutes more. The sugar should stay a bit granulated. Turn off the heat and let set. Losen the mixture with a wooden spatula and put over french toast bake or what ever else you would like...vanilla ice cream would be a good option for this topping.


These are the pictures of the final outcome, can you see the bacon...I put it over the french toast bake when it was half done so the brown sugar could melt a bit to create a gooey goodie goodness on top.